I bought the apprentice mystery saber while outside of Savi's workshop in Disneyland and couldn't afford the price to build one at the park, the quality and features make it worthwhile.

I got The Duelist and I freaking love it! My inner child is so happy lol.

I absolutely love this thing. It's been such a joy to have since it arrived, I can't put it down, and if I do, it's within arms reach. I can say with certainty that I will likely purchase another lightsaber in the future.

Nice and hold the lightsaber. And like a Jedi feeling.

It feels great in the hand and has a good amount of colors, ignitions and blade types highly recommend it
My son loves this saber! He loves the simple and fun design and I see him turn into a big kid every time he be ignites it. It does this dad’s heart good.

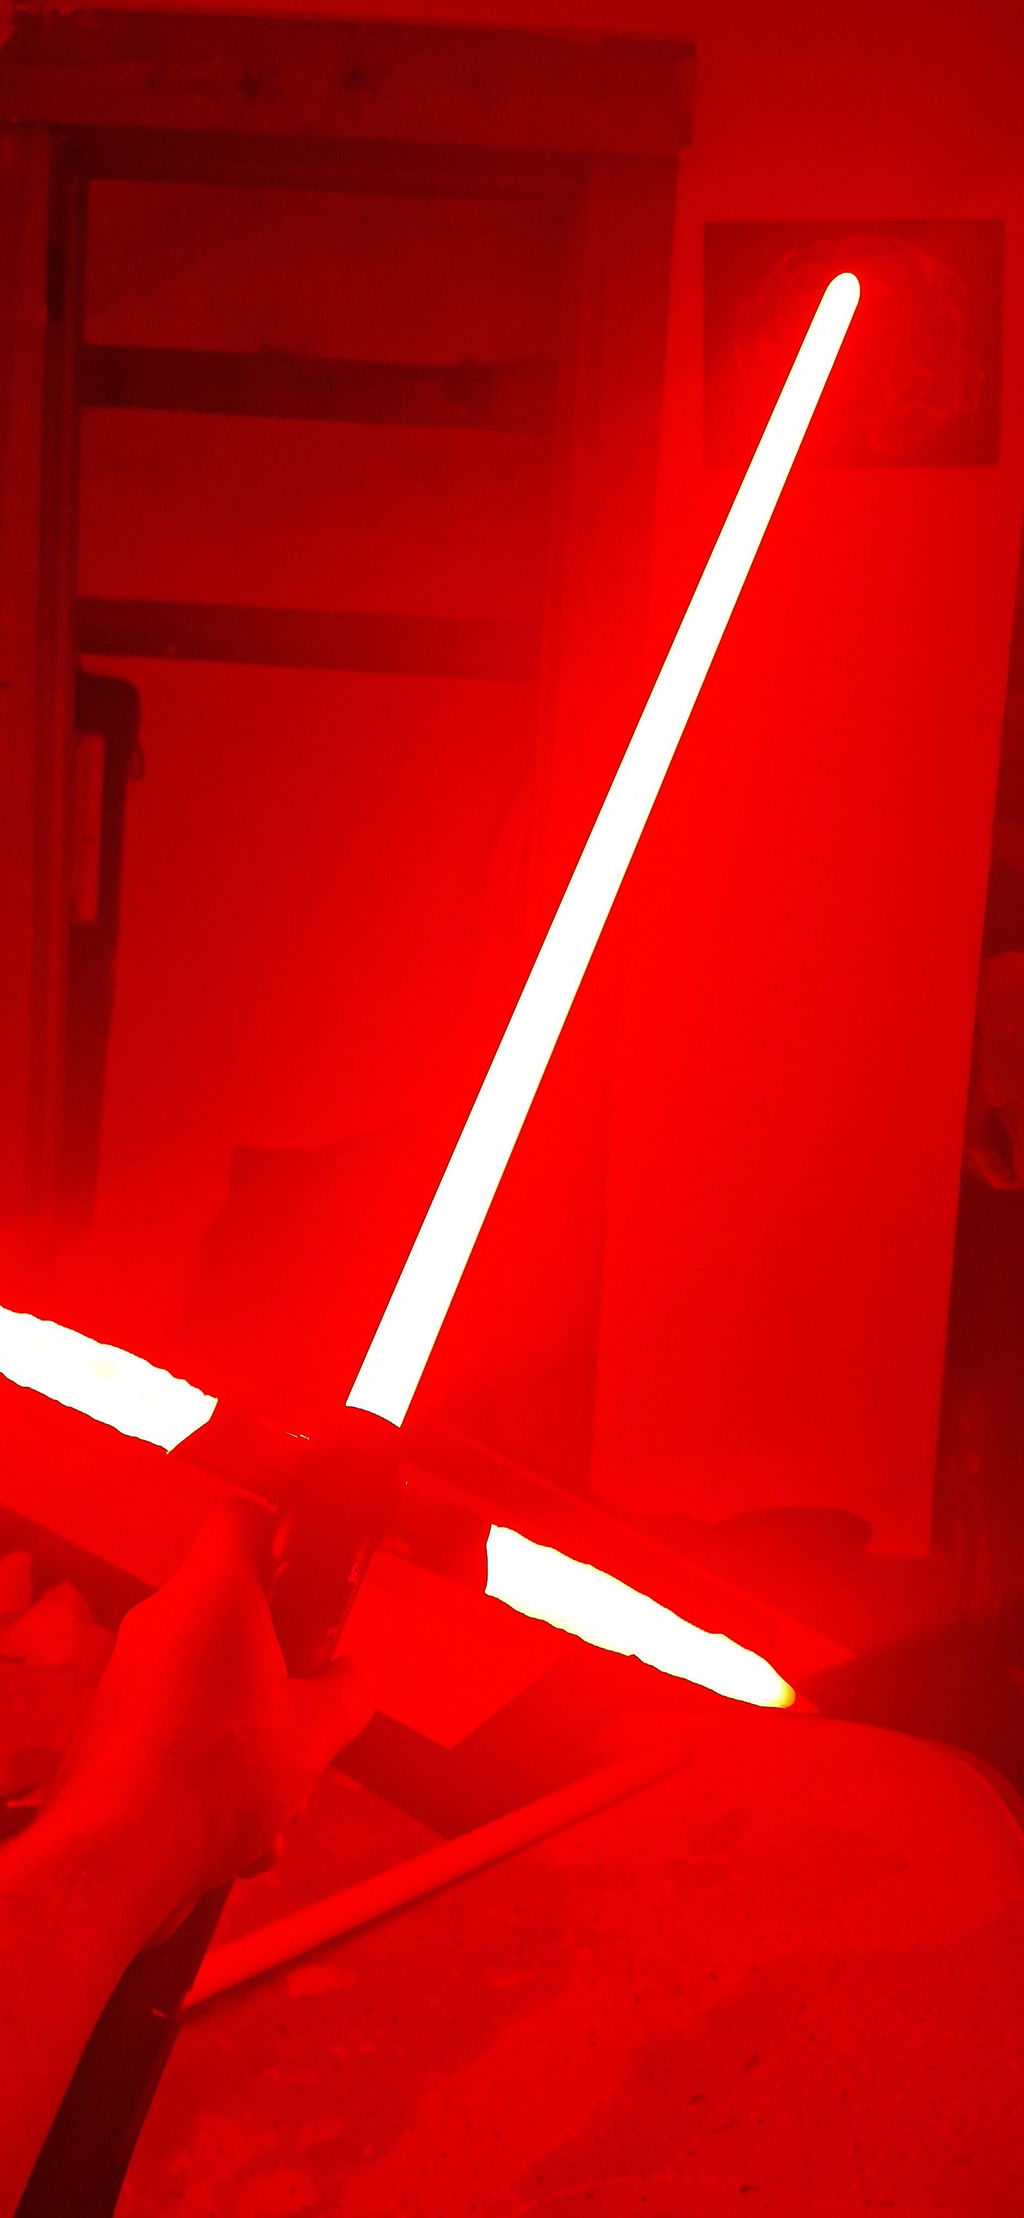
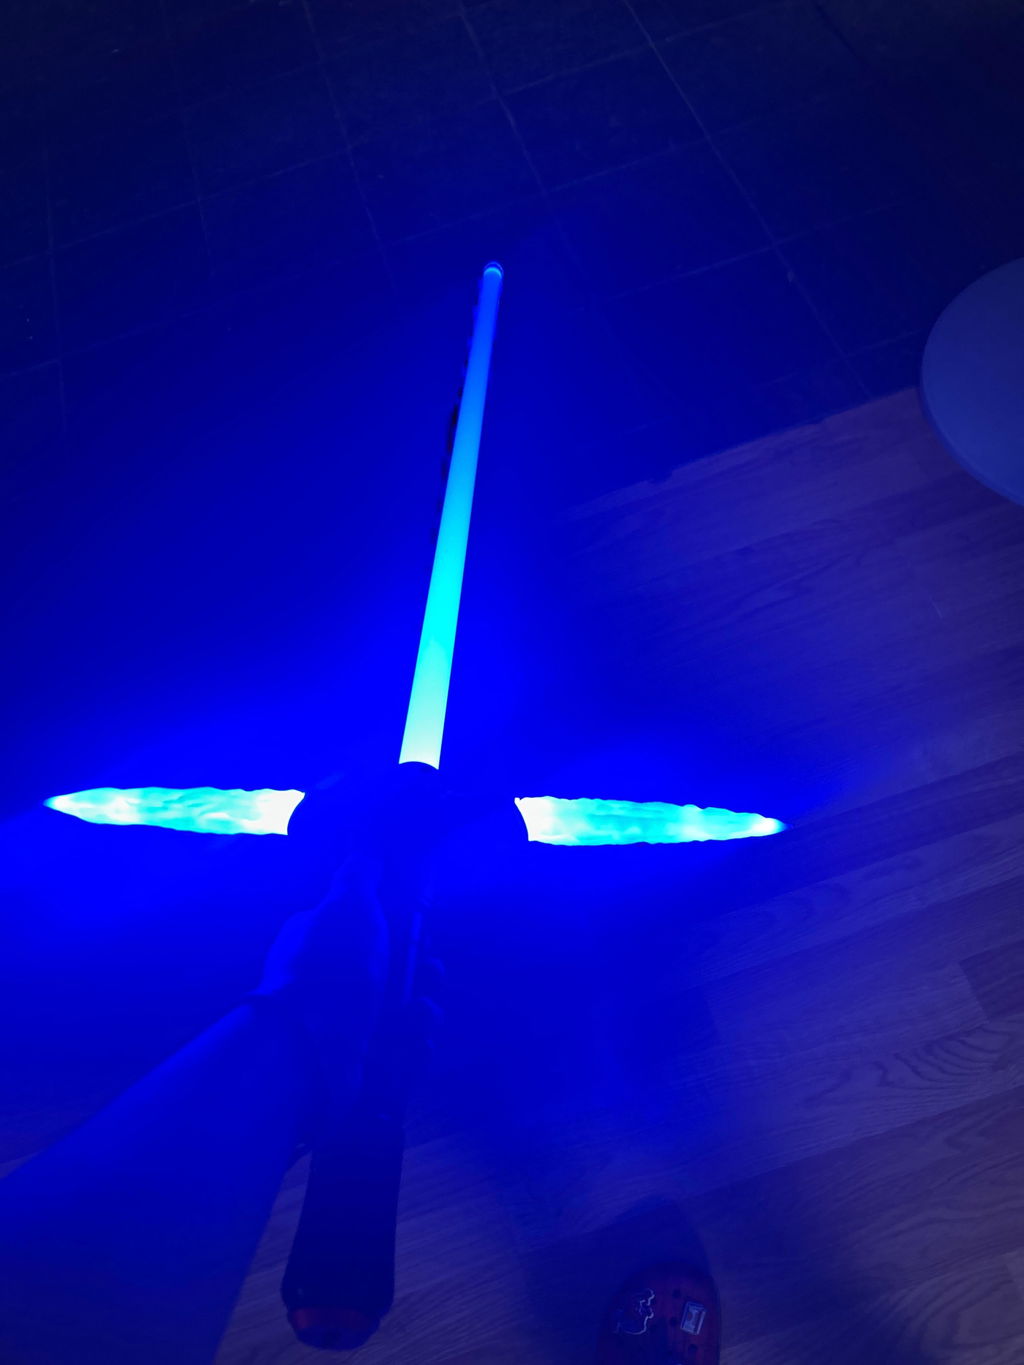
Amazing saber, bright, responsive, deceptively well weighted... the exhaust crossgaurd is very sharp though.

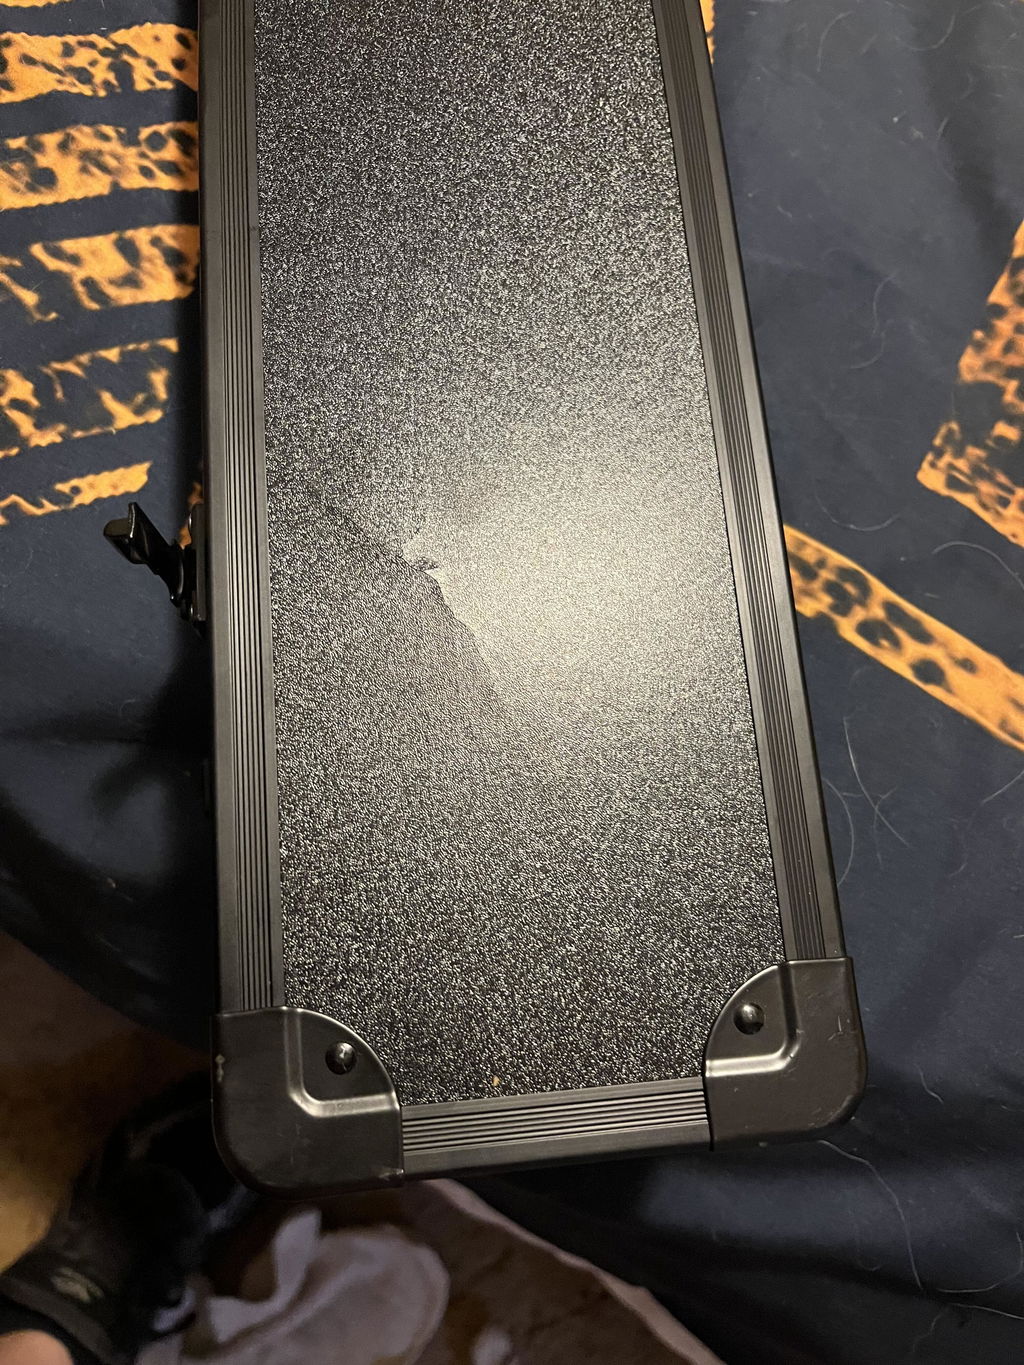
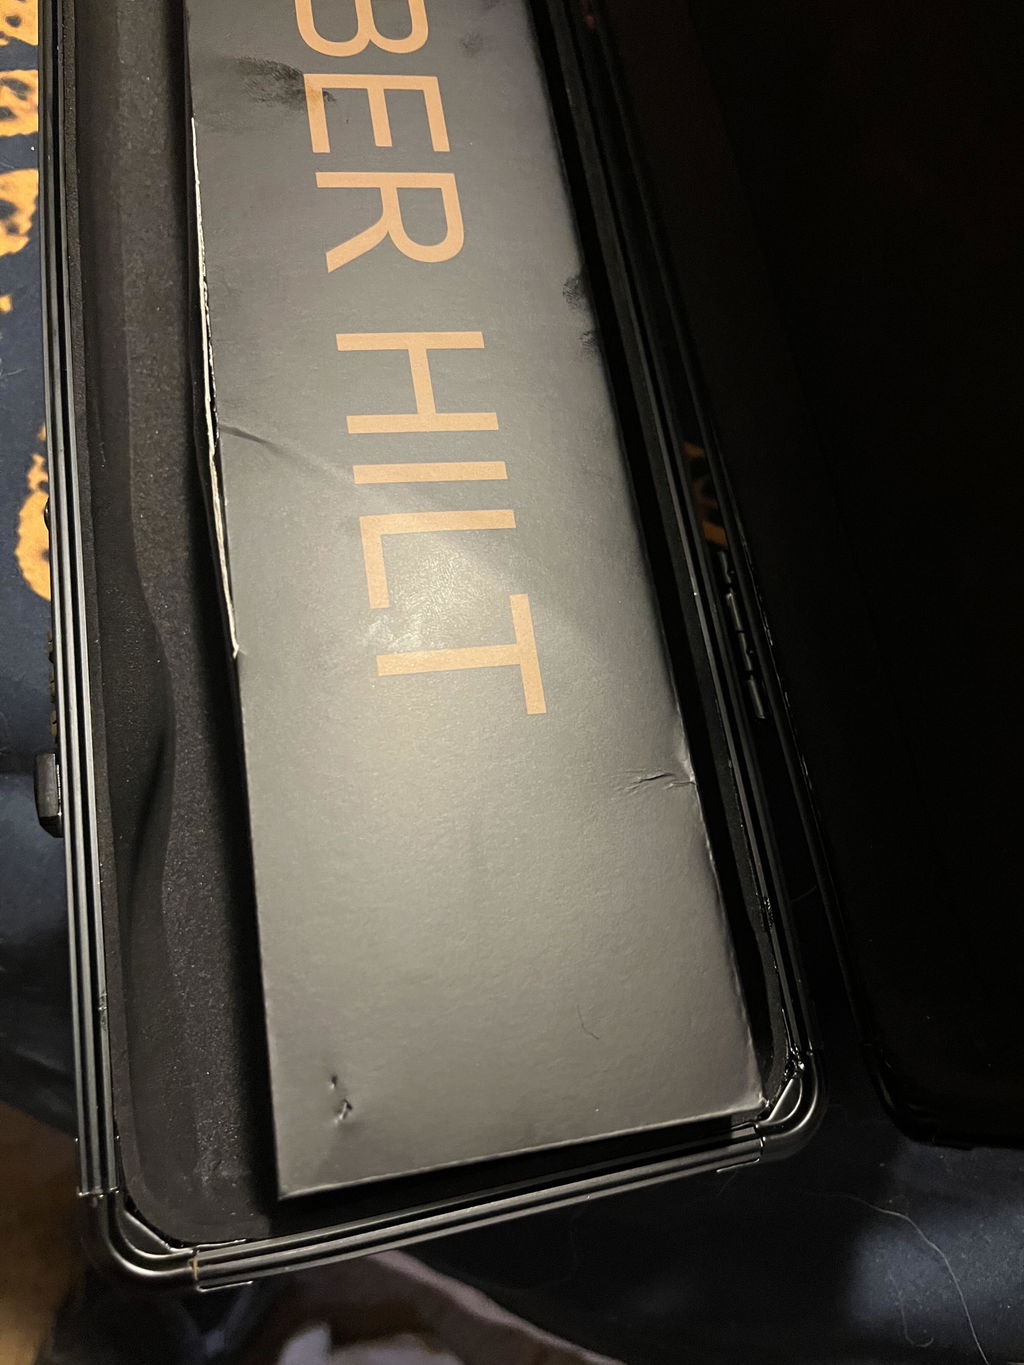
Forced to return the saber. Arrived with a cracked case, and missing the instructions and display stand. Reached out to customer service 3 times, never received a response. The saber was nice, but customer service was the absolute worse

Great quality love everything about it

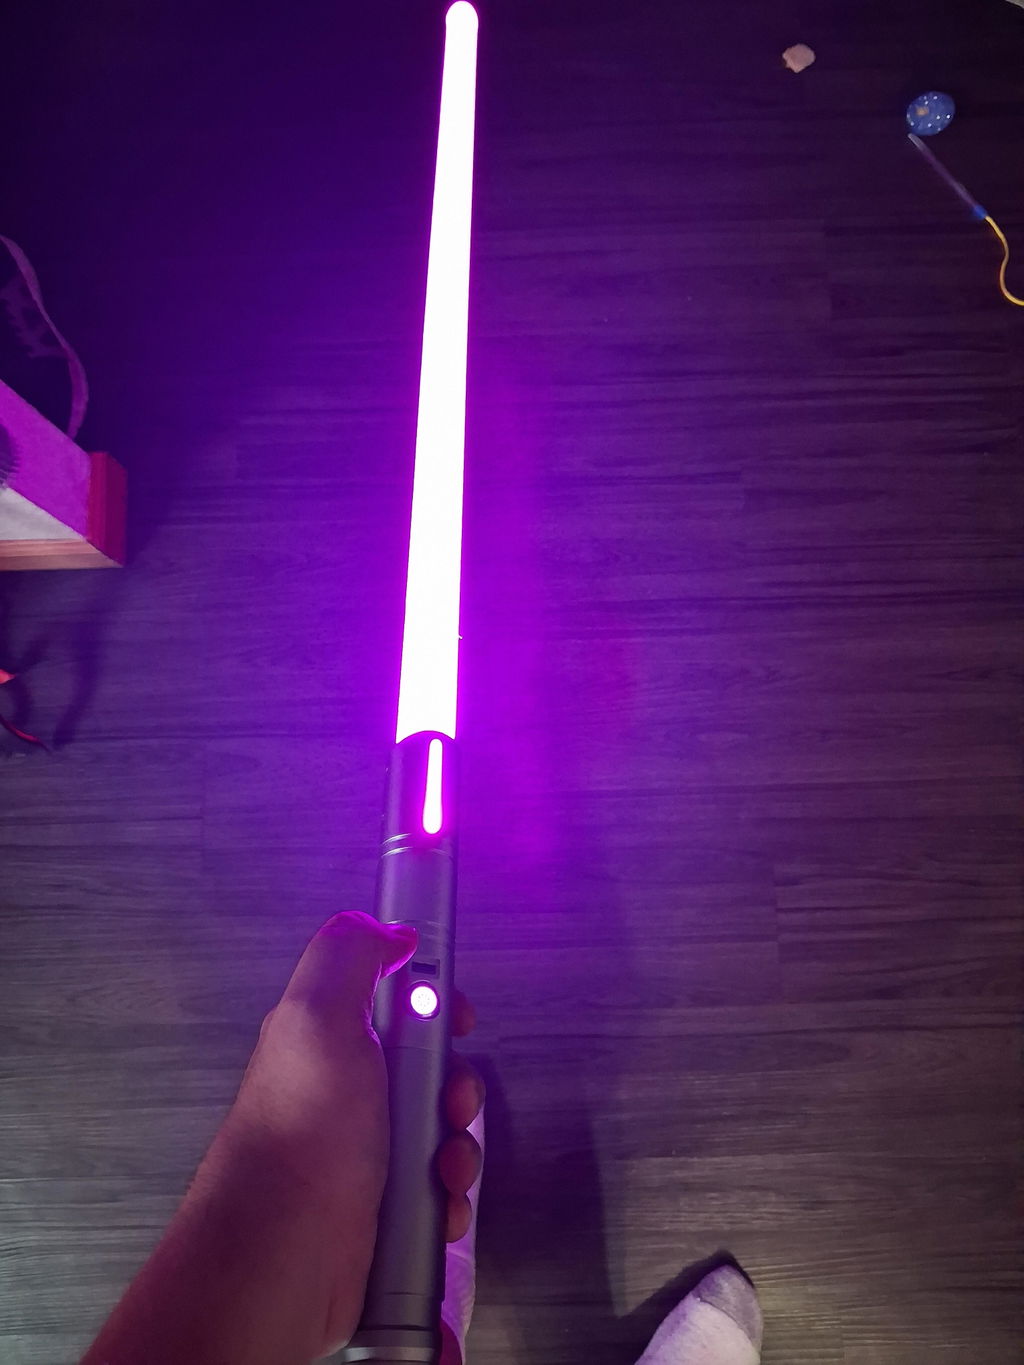
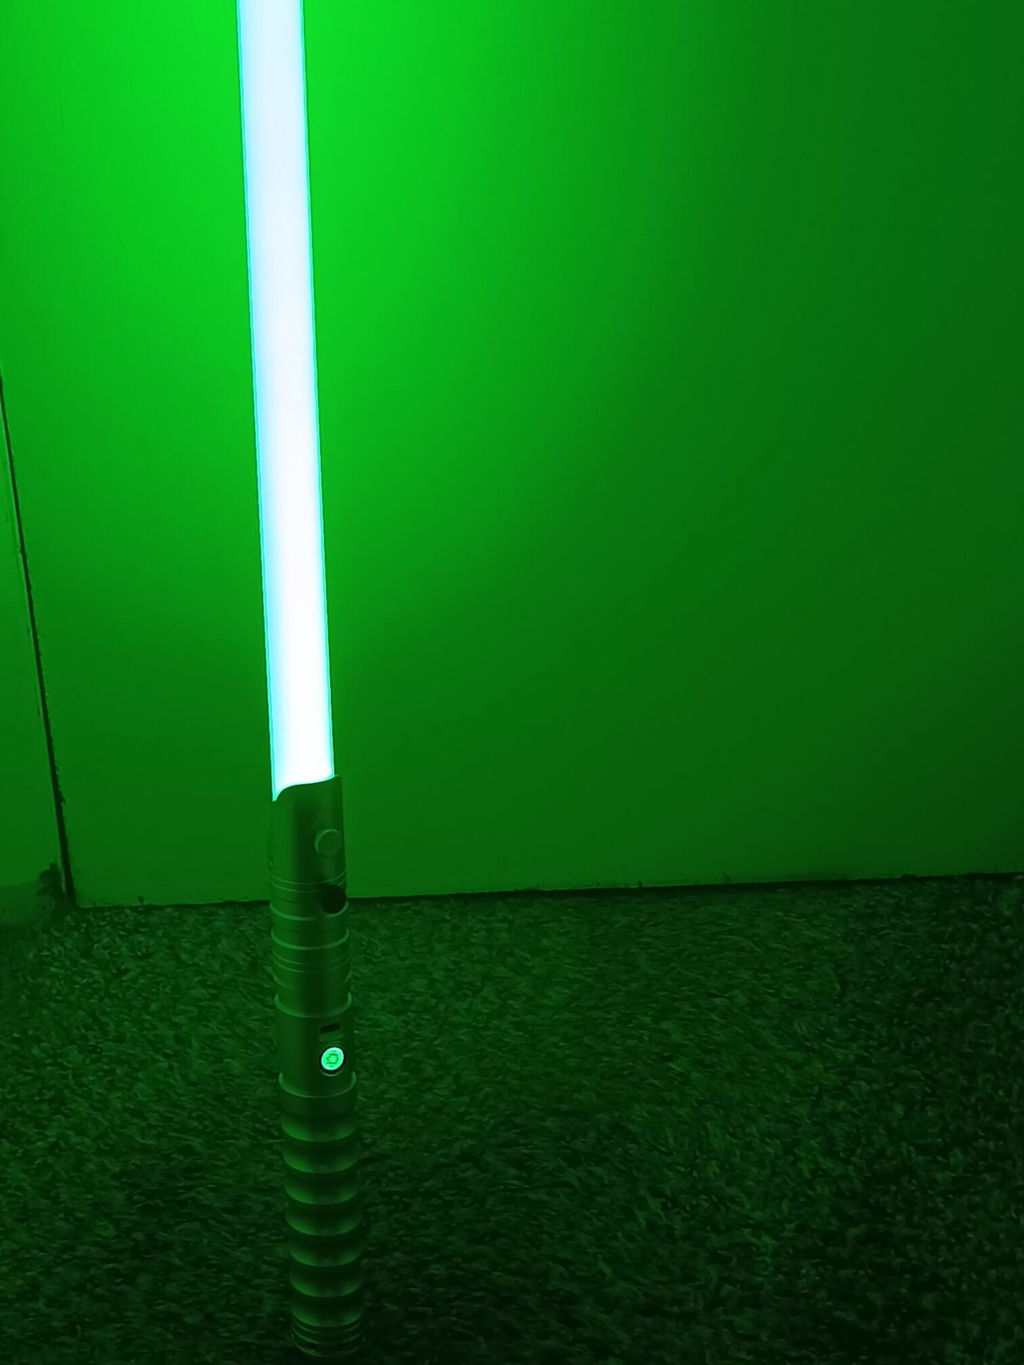
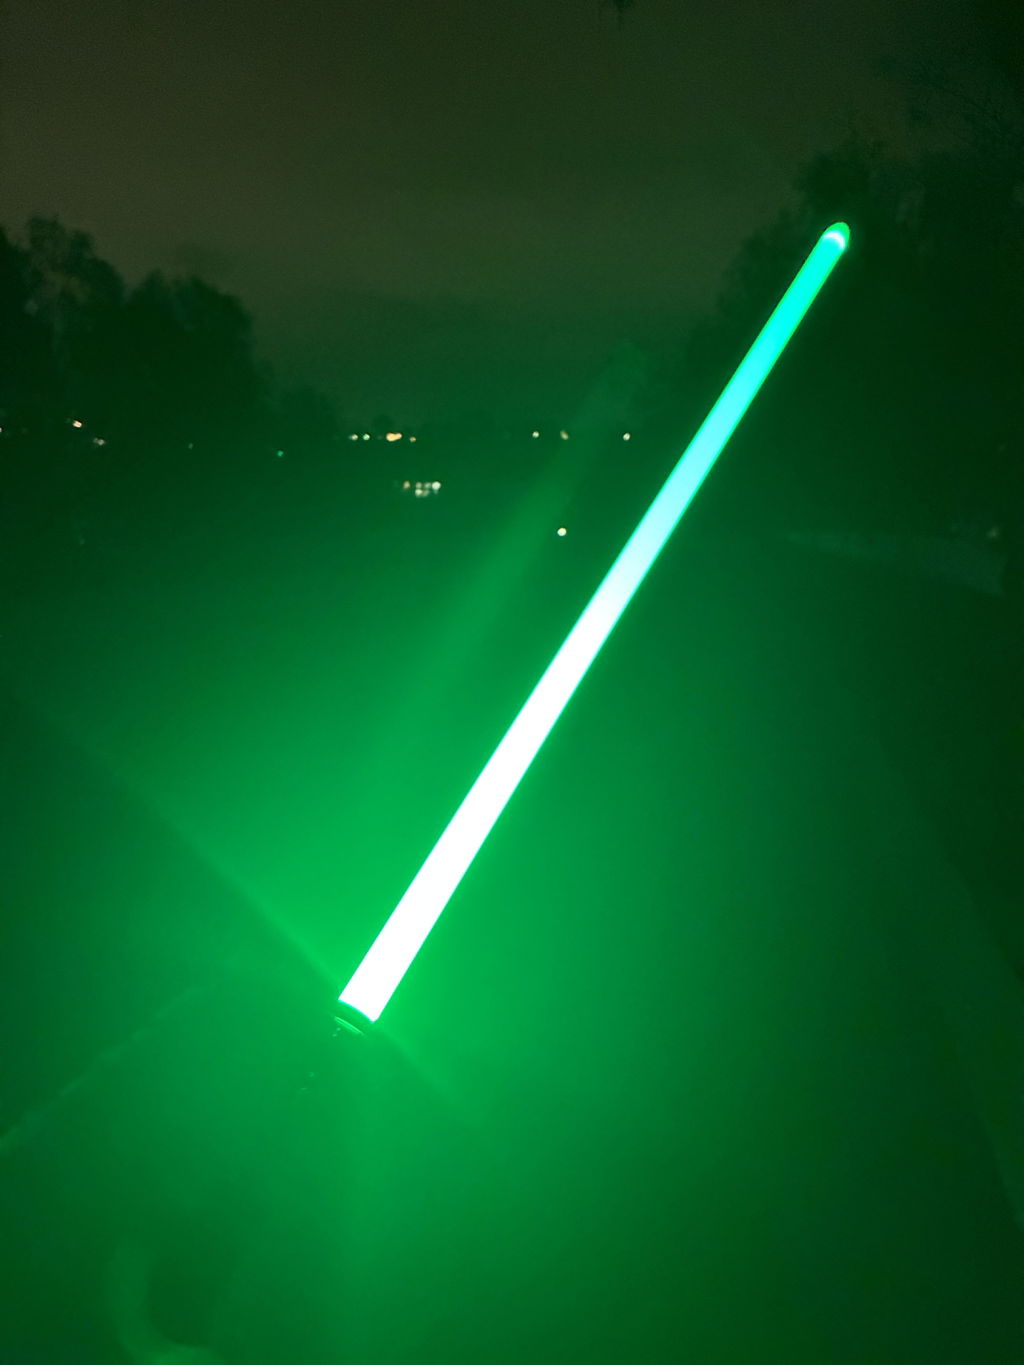
The sol lightsaber is fire 🔥. 2nd saber in my collection and man I'm sorry I past this one up the 1st time

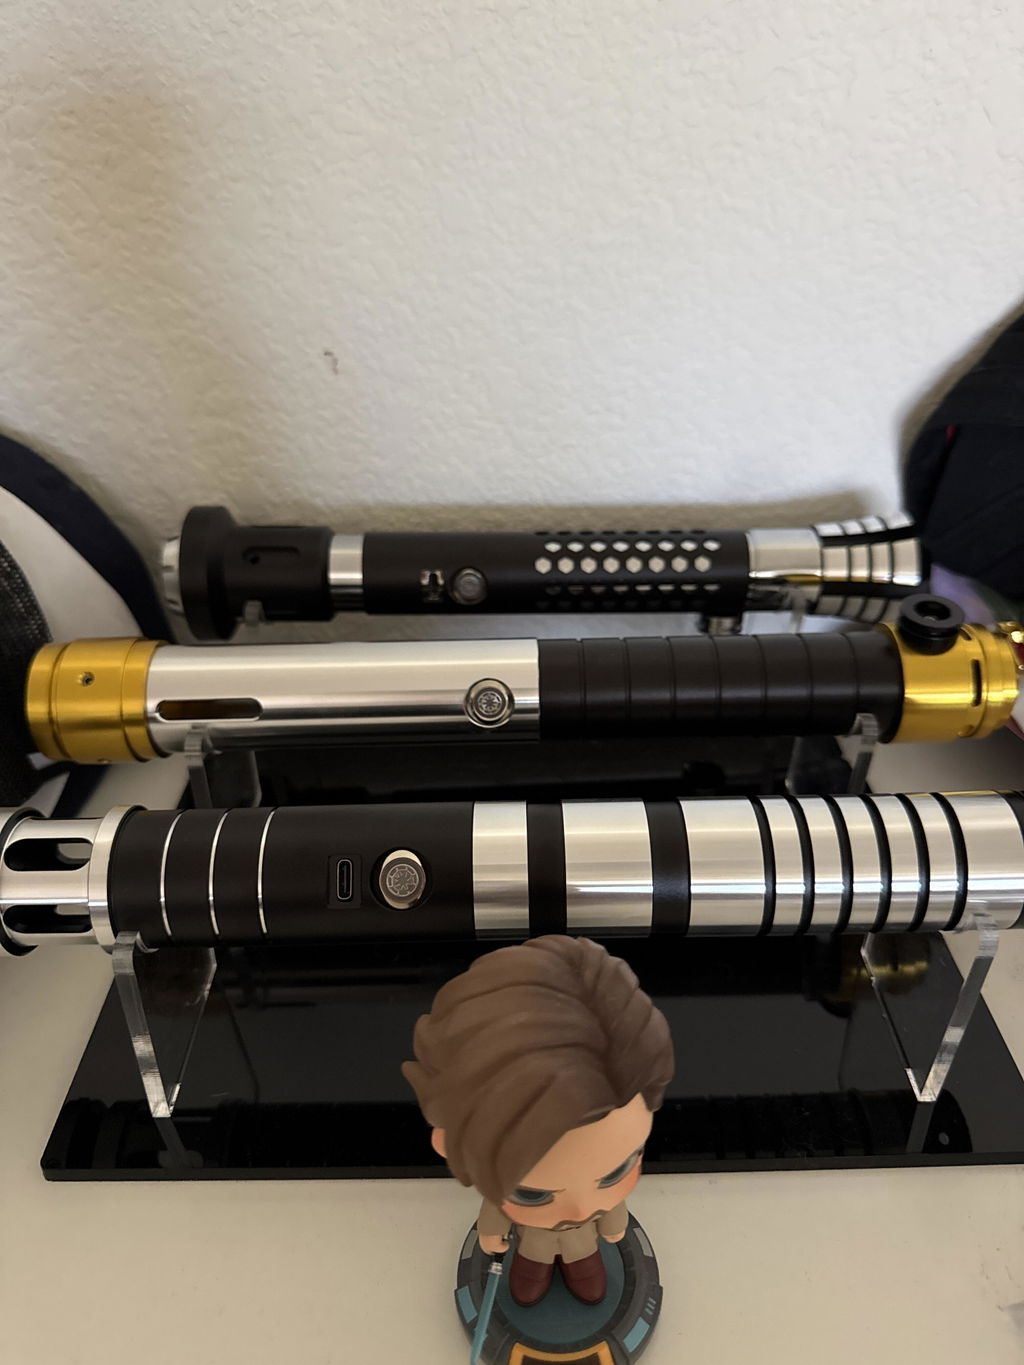
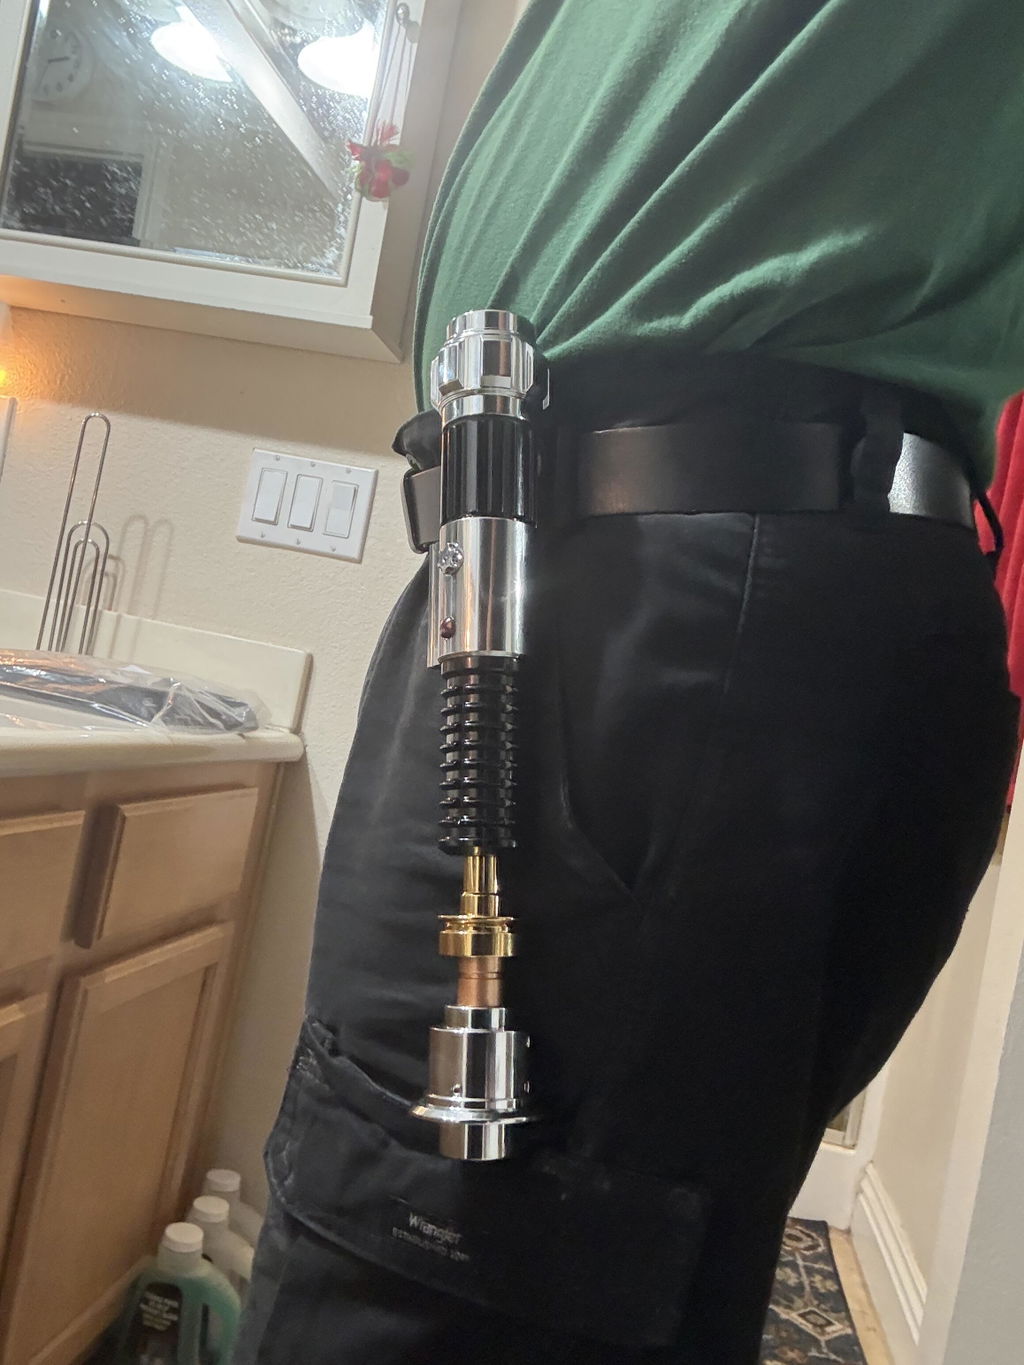
It was the best lightsaber. It feels your holding Obi wan lightsaber. I’m buying another one soon.


Love the saber, love the service. I am a three press buyer from saberspro and will be a customer in the future. This Anakin EE saber is actually my preferred Anakin model without the intrusive control
Box it it much more hand friendly the V3 pixel blade is bright and amazing. Love this saber !!!!

I have not actually got to open the saber yet my wife purchased this for me for my birthday which is in 4 days . I do plan on posting a unboxing video to saberspro web page on Facebook. Thank you for making good quality products for a reasonable price!
Totally worth it!
I was a little worried at first when I opened them up. But after assembling them I realized how strong the dueling sabors are! My kids love them and we hit hard! Definitely worth the price.

Awesome gift for star wars fans. Great quality and accurate shipping . I loved 100%recomended.
The item was great, insanely durable, and great for dueling, I just ordered a second Lightsaber so that I can have Lightsaber duels with friends
Bought it on sale as it was one of the better looking “cheap” sabers, ended up being really good. Multiple options for color and sound effects even on the most basic saber, it also has really good durability on the blade. It was also shipped very quickly so that was another plus. Overall a really good lightsaber all around especially for the sale price.
My son is recently discovering Star Wars again and the thrill of a light saber battle. We have broken a cheaper one that we bought on Amazon. The one from SabersPro is amazing- it feels like the real thing and is very durable. We will be buying a second one soon!

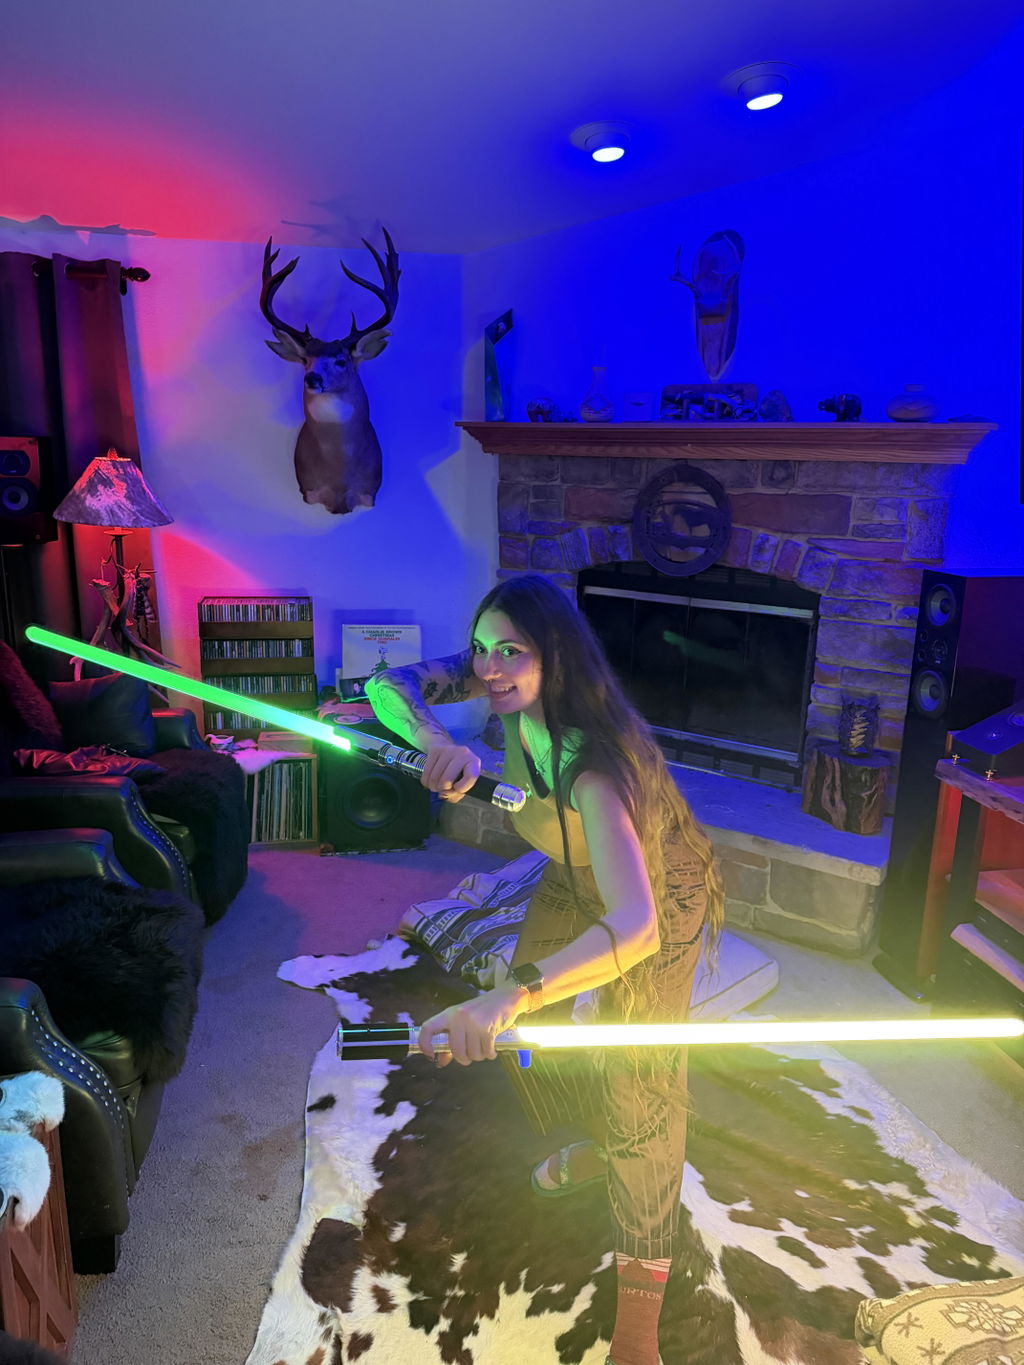
Got these for my kids and I to duel with. Great quality, kids absolutely love the fact that they can change into different colors. couldn't be happier with the purchase.
Absolutely awsome, my first mystery saber box and I get the obi one neo pixel saber. So exited thank's. Everything is working perfect, the sound, speaker really loud. I loved.

Great saber, look really good and has a good weight to it! I just wish it came with instructions on how to attach the two separate sabers together. Other than that, I really like it. It was also a great price!

This was my first purchase from SabersPro, and unfortunately it will likely be my last.
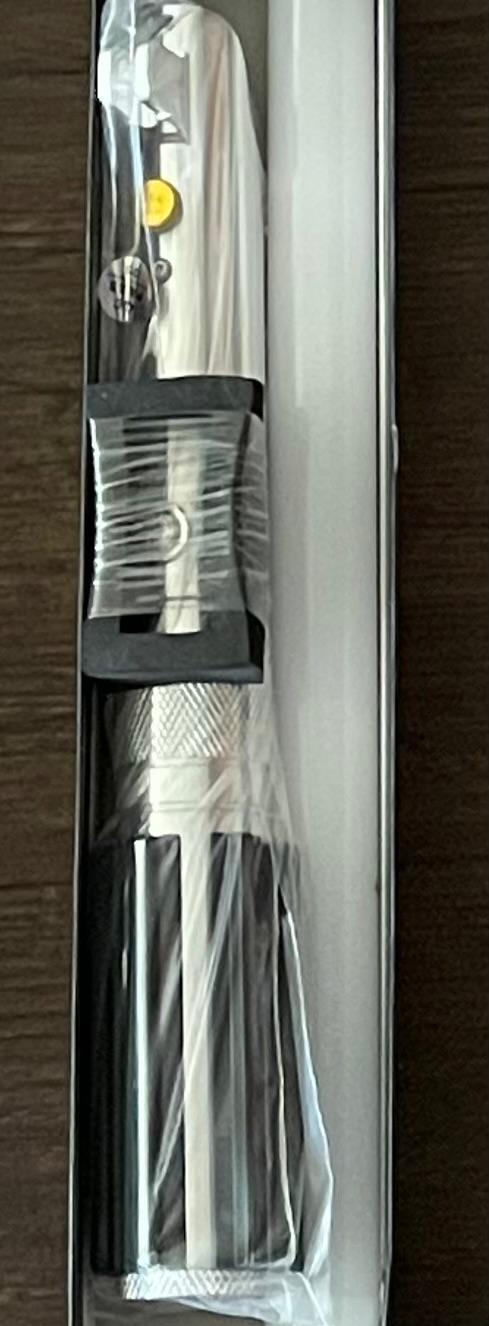
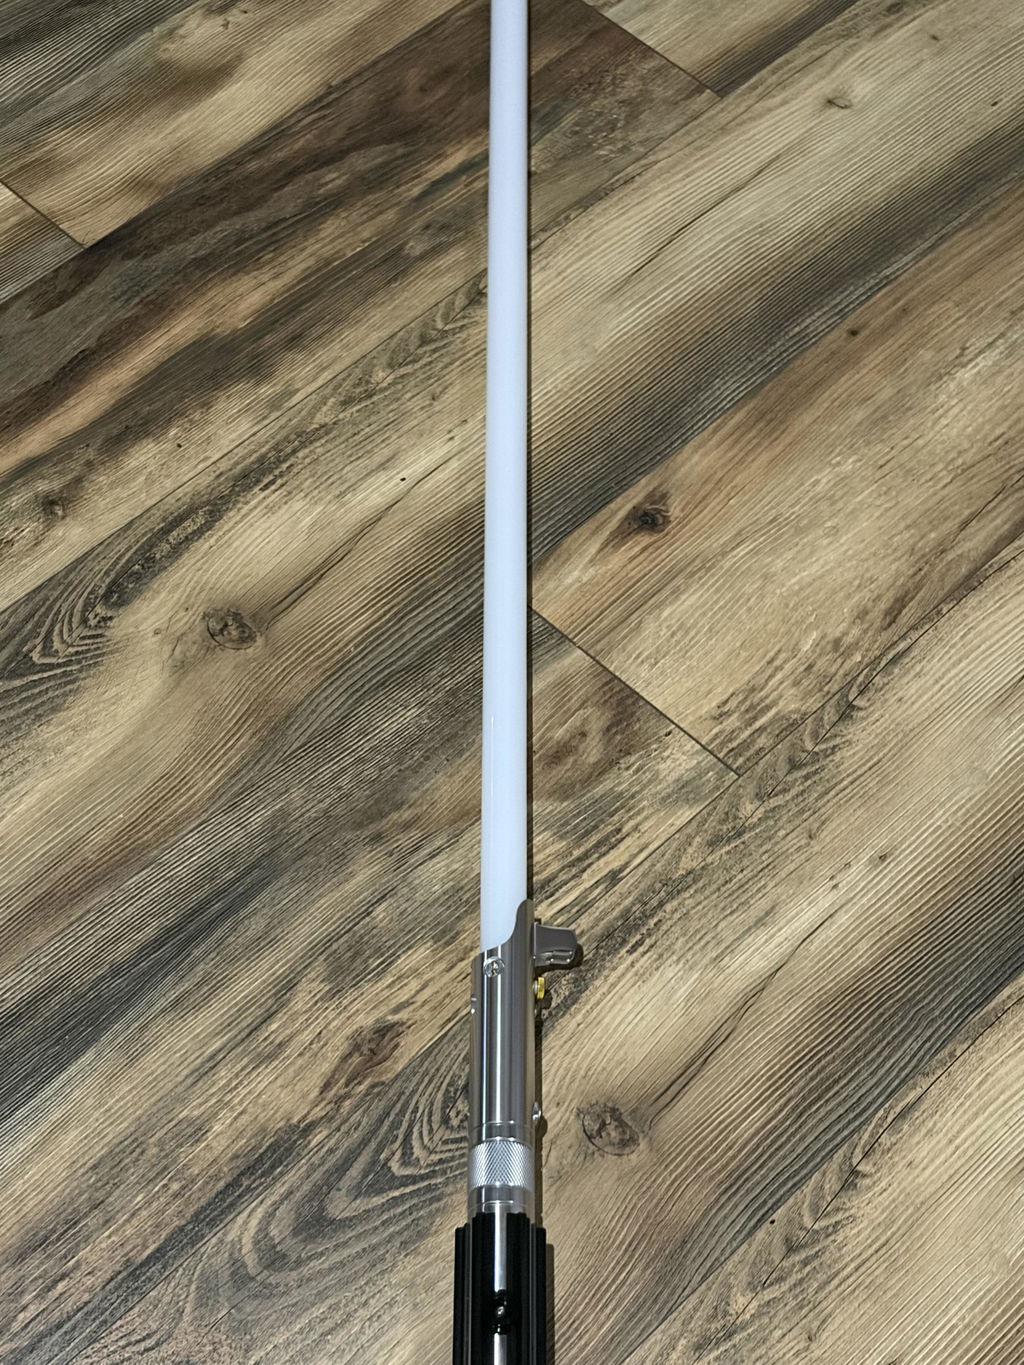
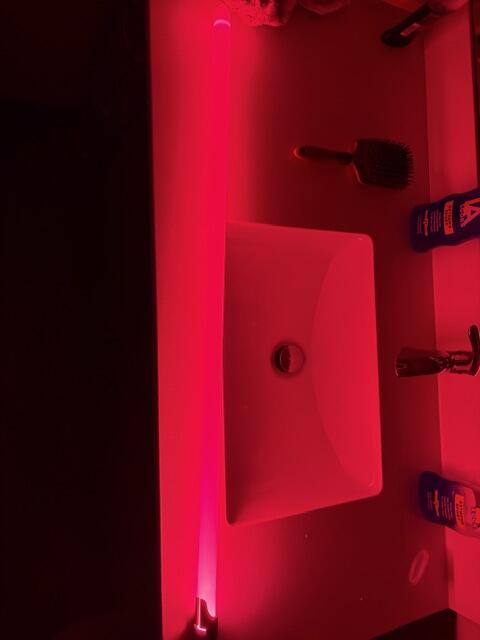
The lightsaber had a very noticeable reflective ring near the tip of the blade that completely took away from the appearance. What makes it worse is that their website does not clearly show close-up pictures of the blade tip, which feels very misleading. Had I seen that visible ring before purchasing, I would not have bought it.
I contacted customer support because I genuinely wanted to know if it was normal or if there was a problem with my blade. Mark from customer support told me he would discuss it with the warehouse team and get back to me. After waiting several business days and having to follow up myself, I was told it was “normal.”
While I didn’t agree with the explanation, I accepted it and simply decided I wanted to return the product. Since requesting a return, Mark has once again stopped responding. At this point, I’m left waiting with no return instructions and no communication.
I wasn’t asking for free products or special treatment. I simply wanted a quality product or, if it wasn’t what I expected, a smooth return process. Instead, I’ve experienced slow responses, poor communication, and disappointing customer service.
I hope SabersPro improves how they handle customers in the future, because this experience has left me with very little confidence in buying from them again.
It was crazy Mark just emailed me with a generic response after leaving the review asking me if the box was still sealed. So is he or is he not working today? I am very confused. Also got a email doubling down on the tip of the blade. saying it is completly normal that is looks like a 36" pleasure toy but does not have any pictures of the tip on the actual website. VERY MISLEADING

Hi Kiel, thank you for sharing your detailed feedback. We're sorry to hear about your experience and apologize for the inconvenience caused.
There is a reflective disc at the tip of a baselit blade to make sure the light reflects back and illuminates the blade as brightly and evenly as possible.
The neopixel versions do not have that feature as those blades have the LEDs inside the blade.
Mark is off today due to a family emergency and he will respond to your return request as soon as possible.
May the force be with you.
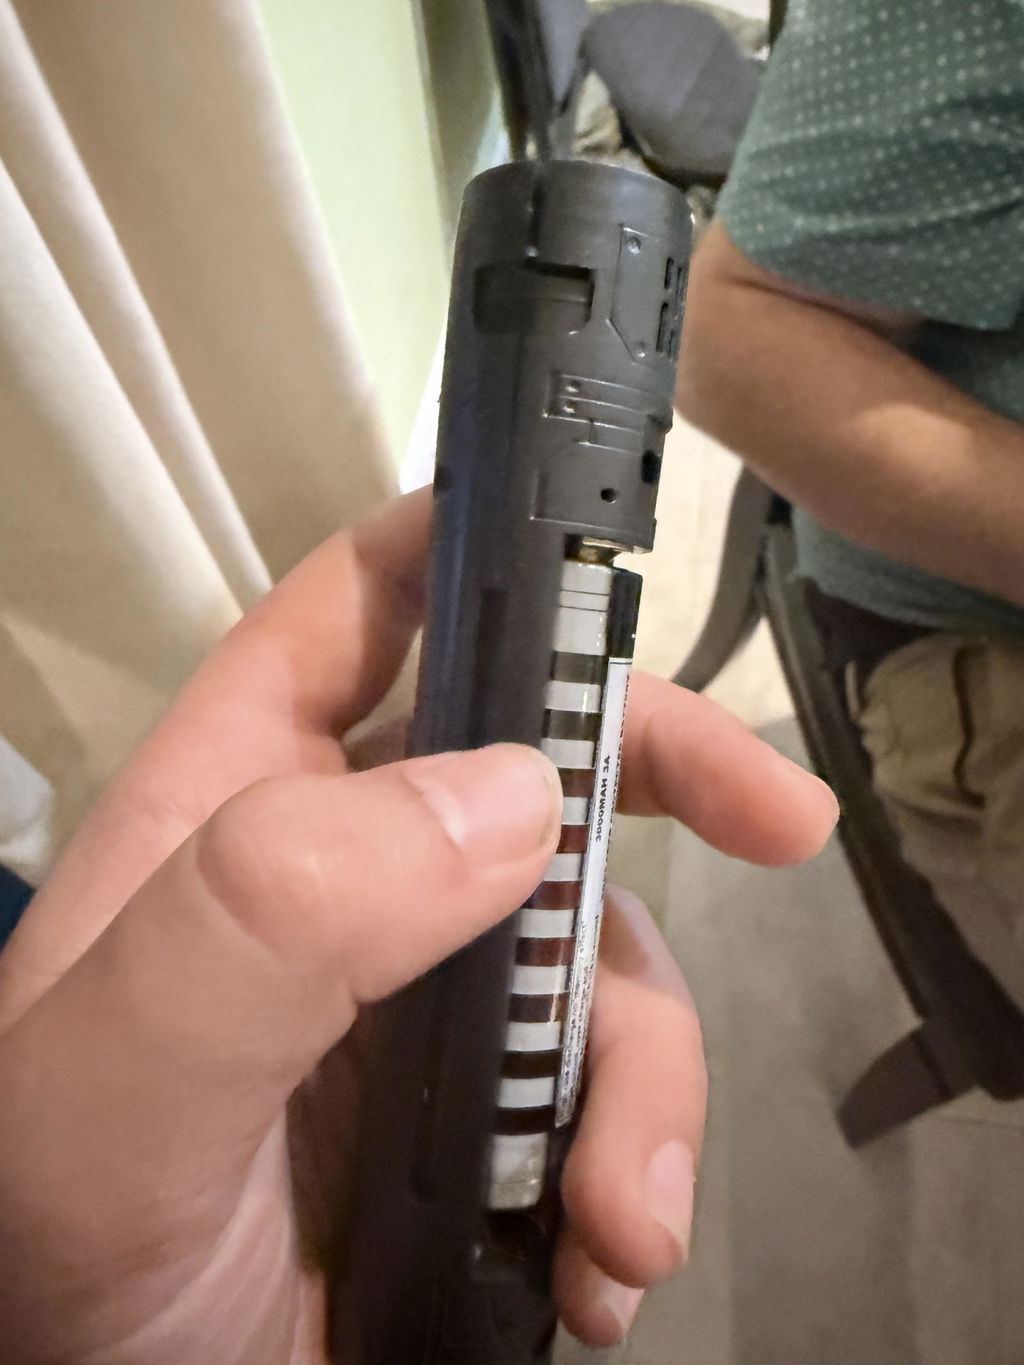
We removed the battery housing to charge the battery and are unable to reinsert the housing due to damage. The saber is now not functional.
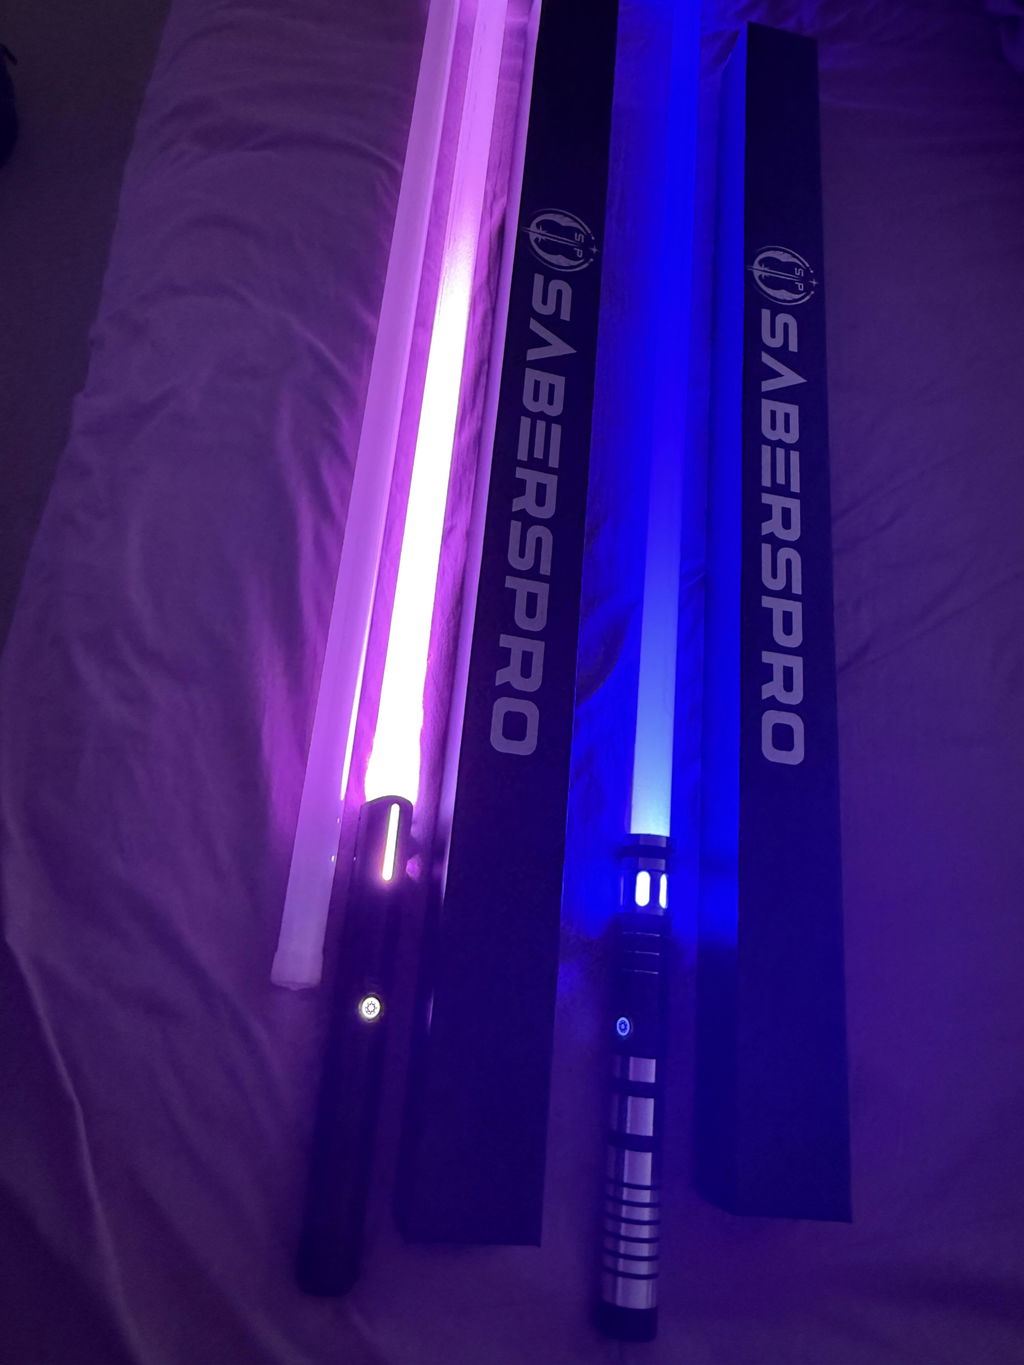
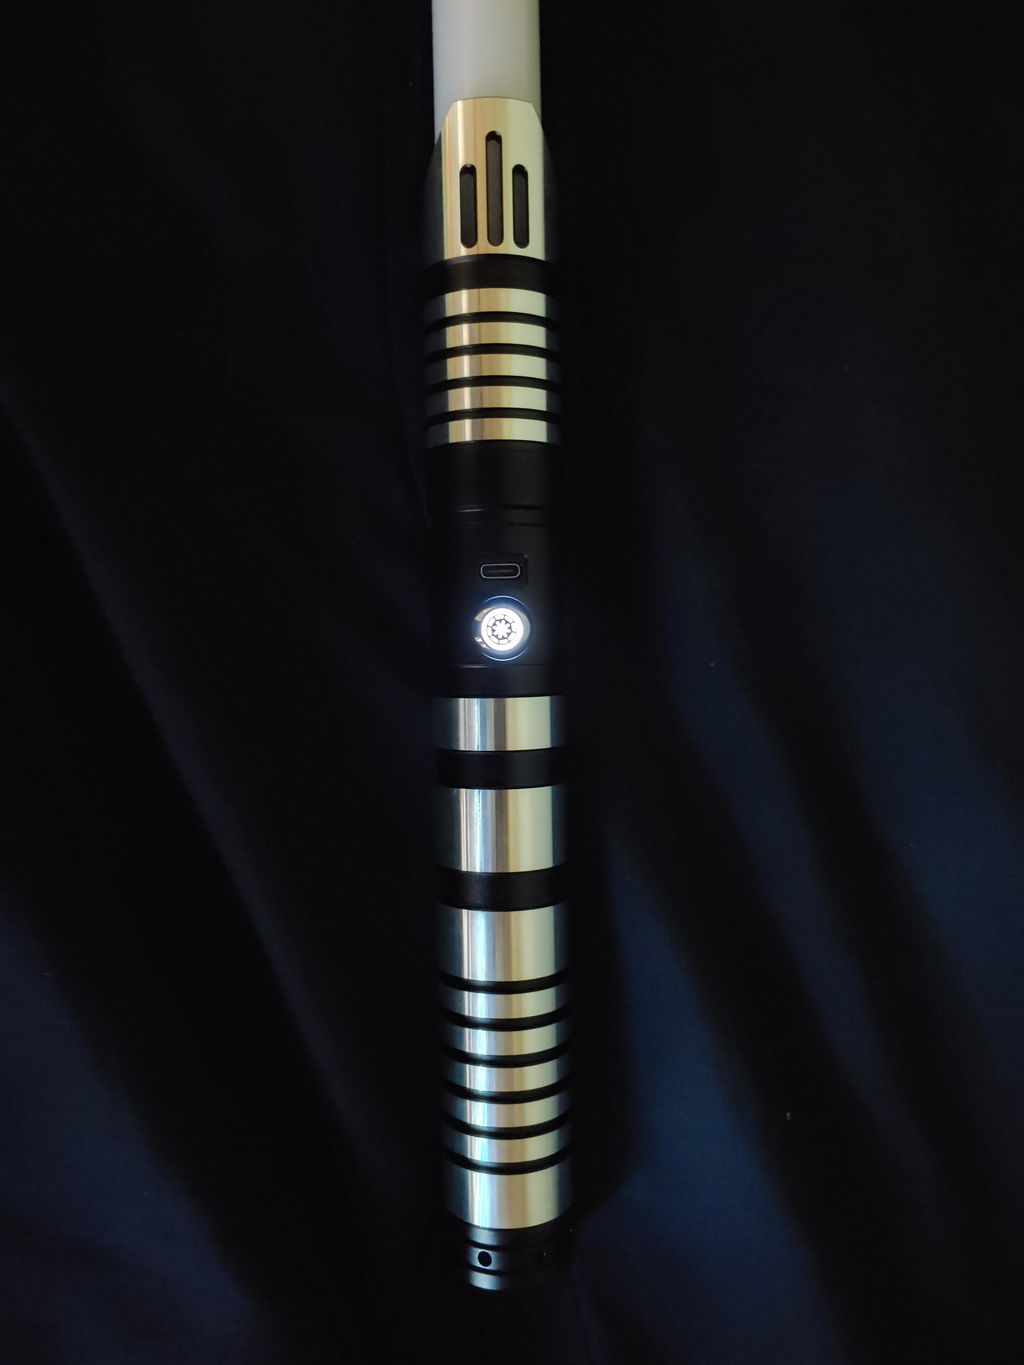
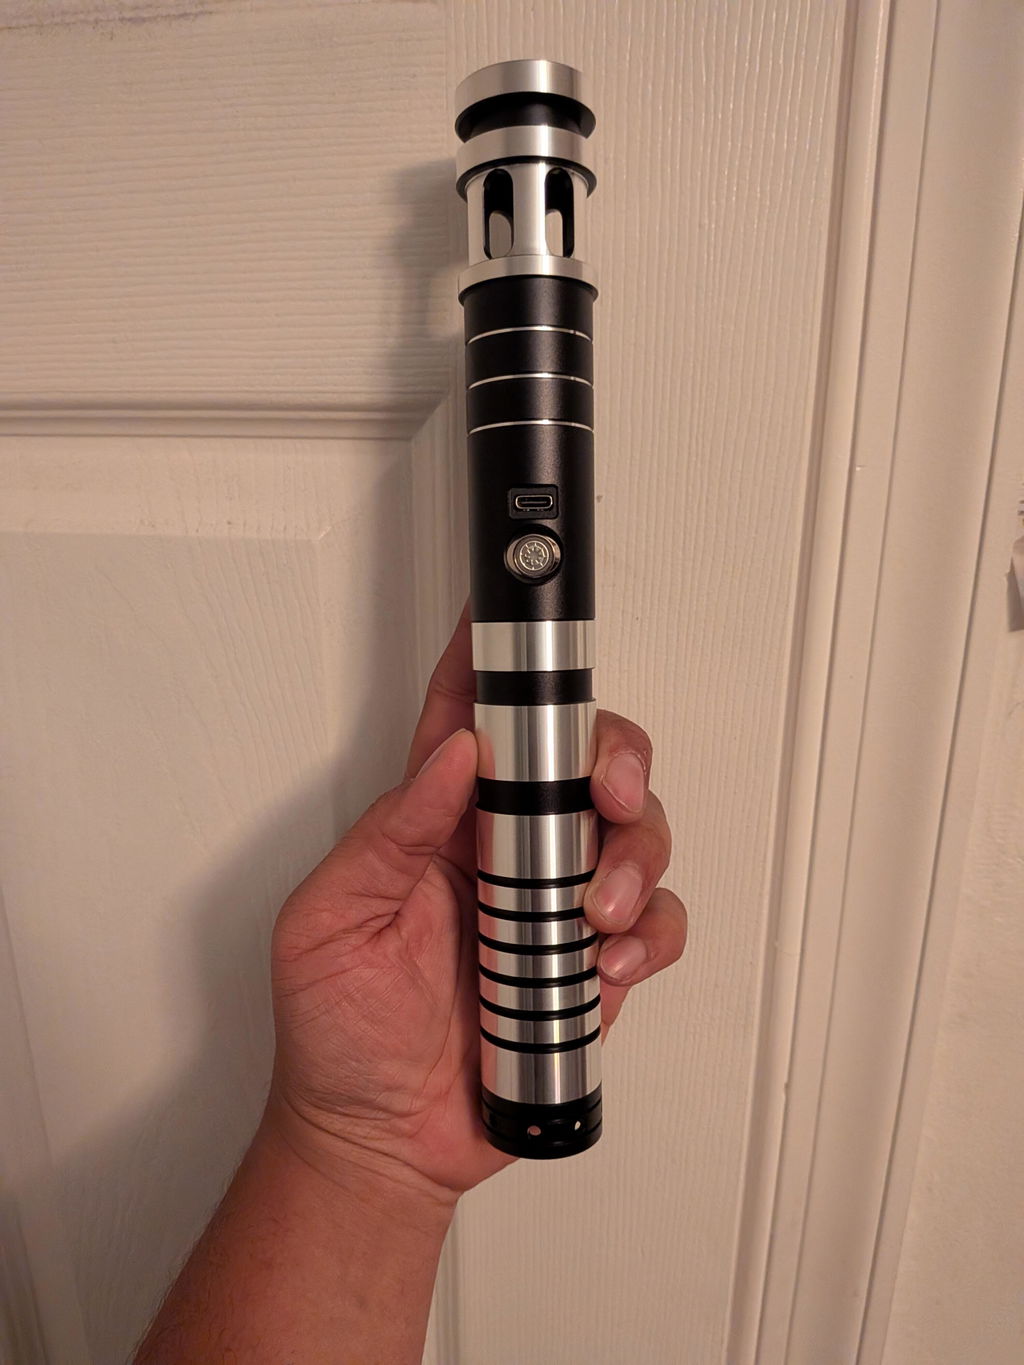
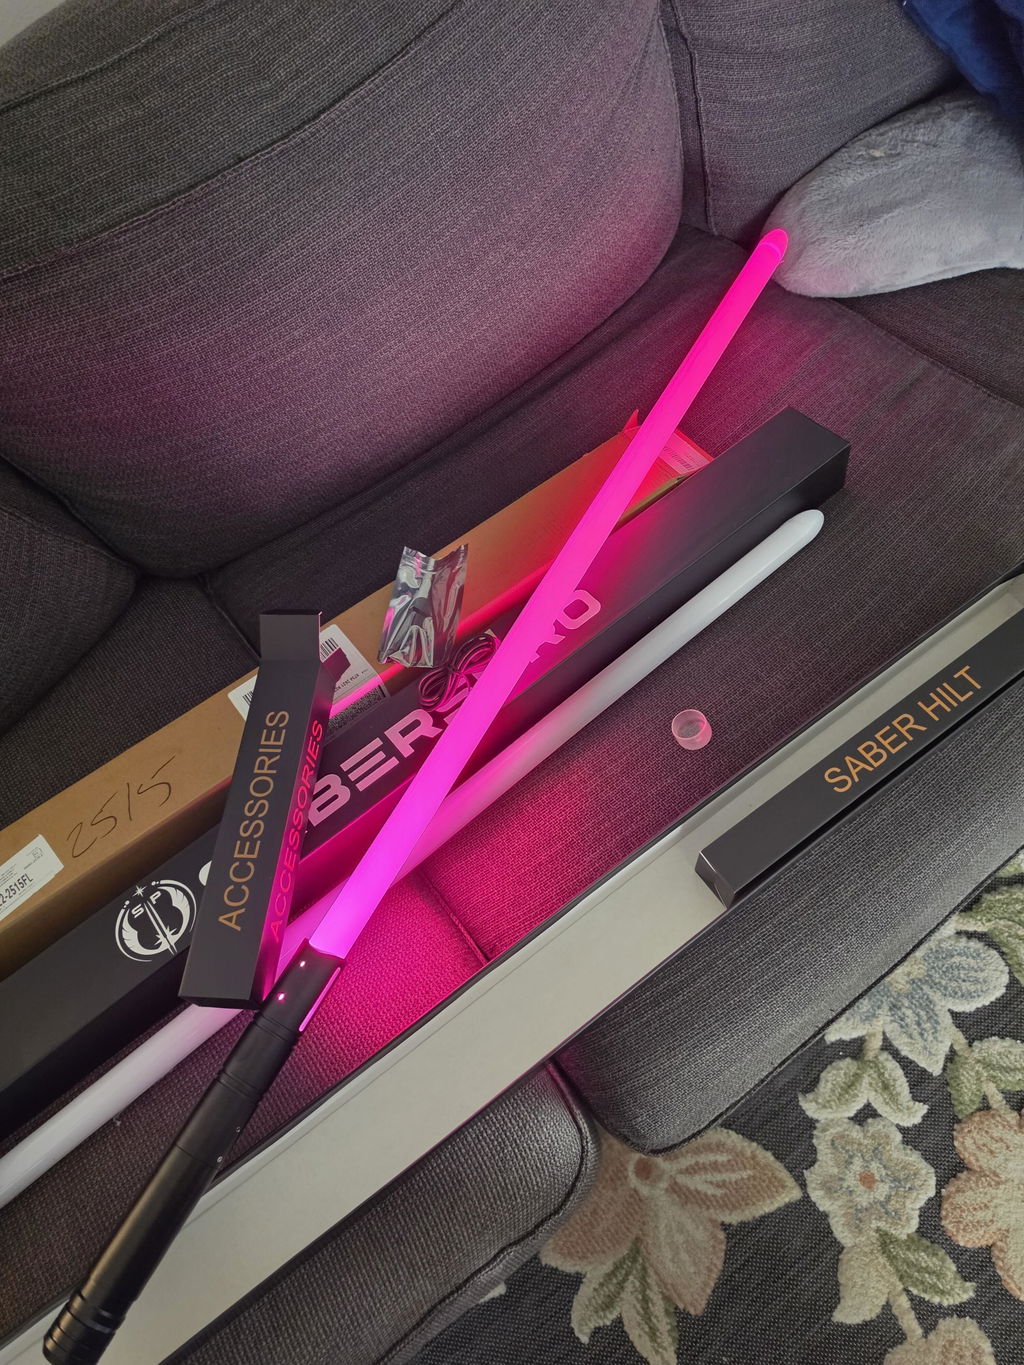
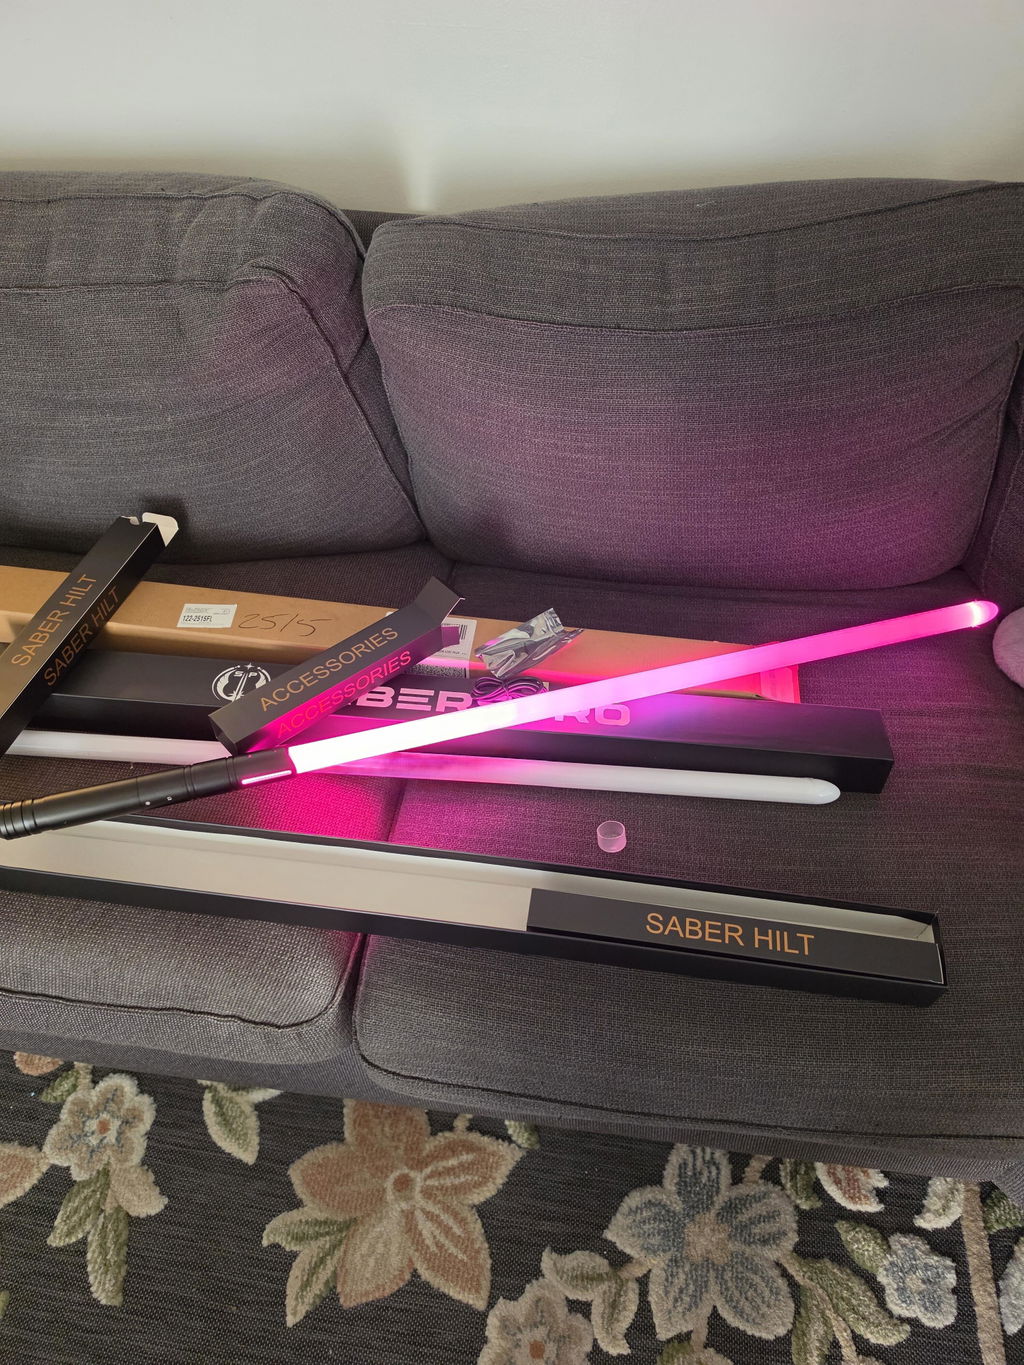
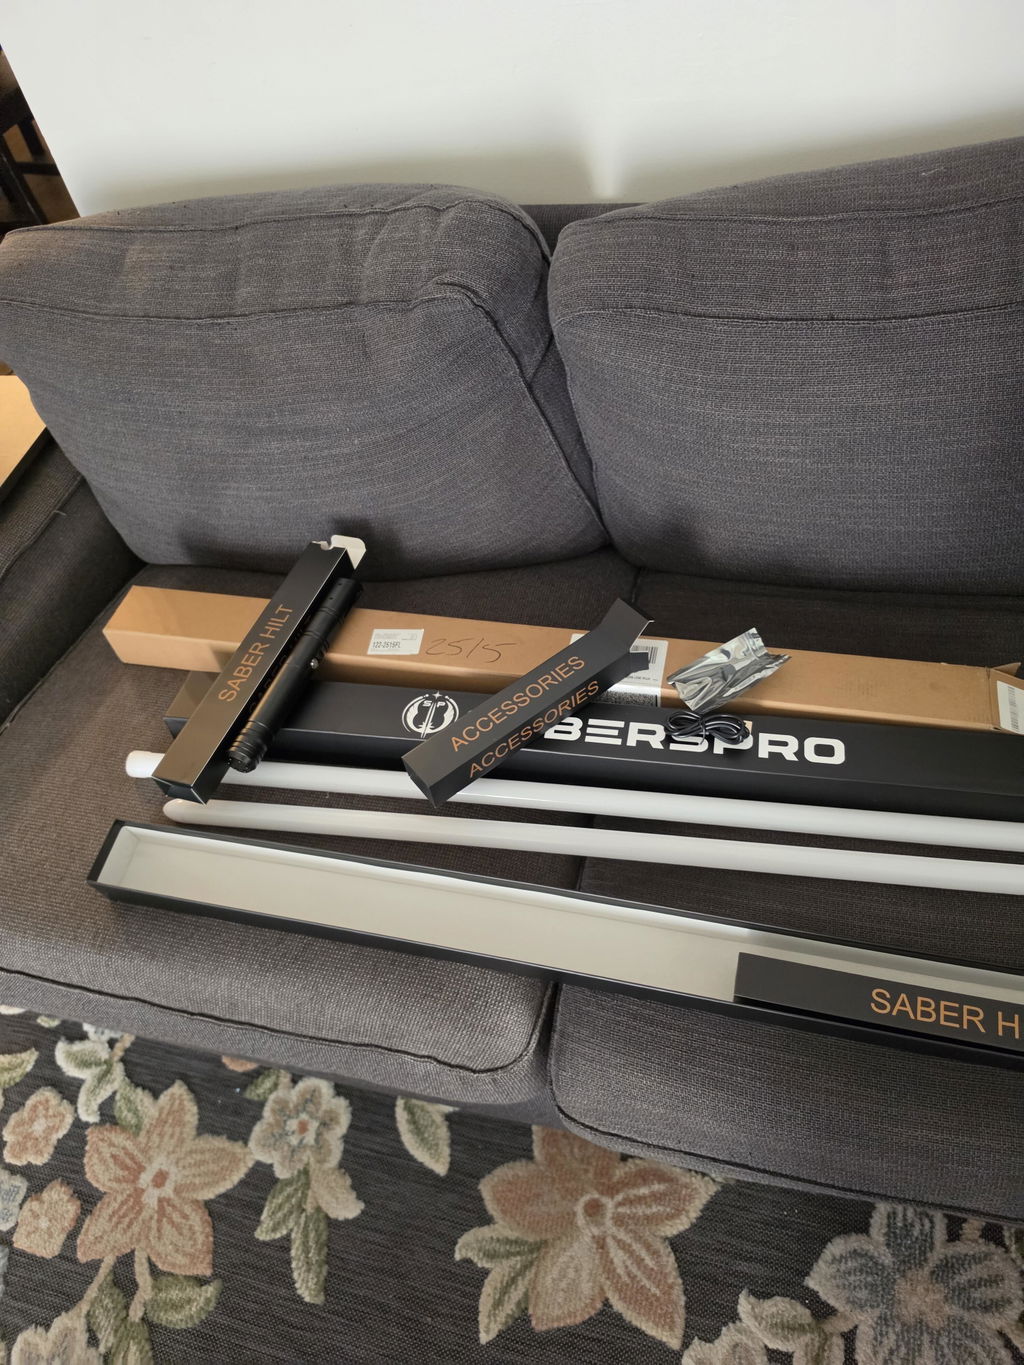
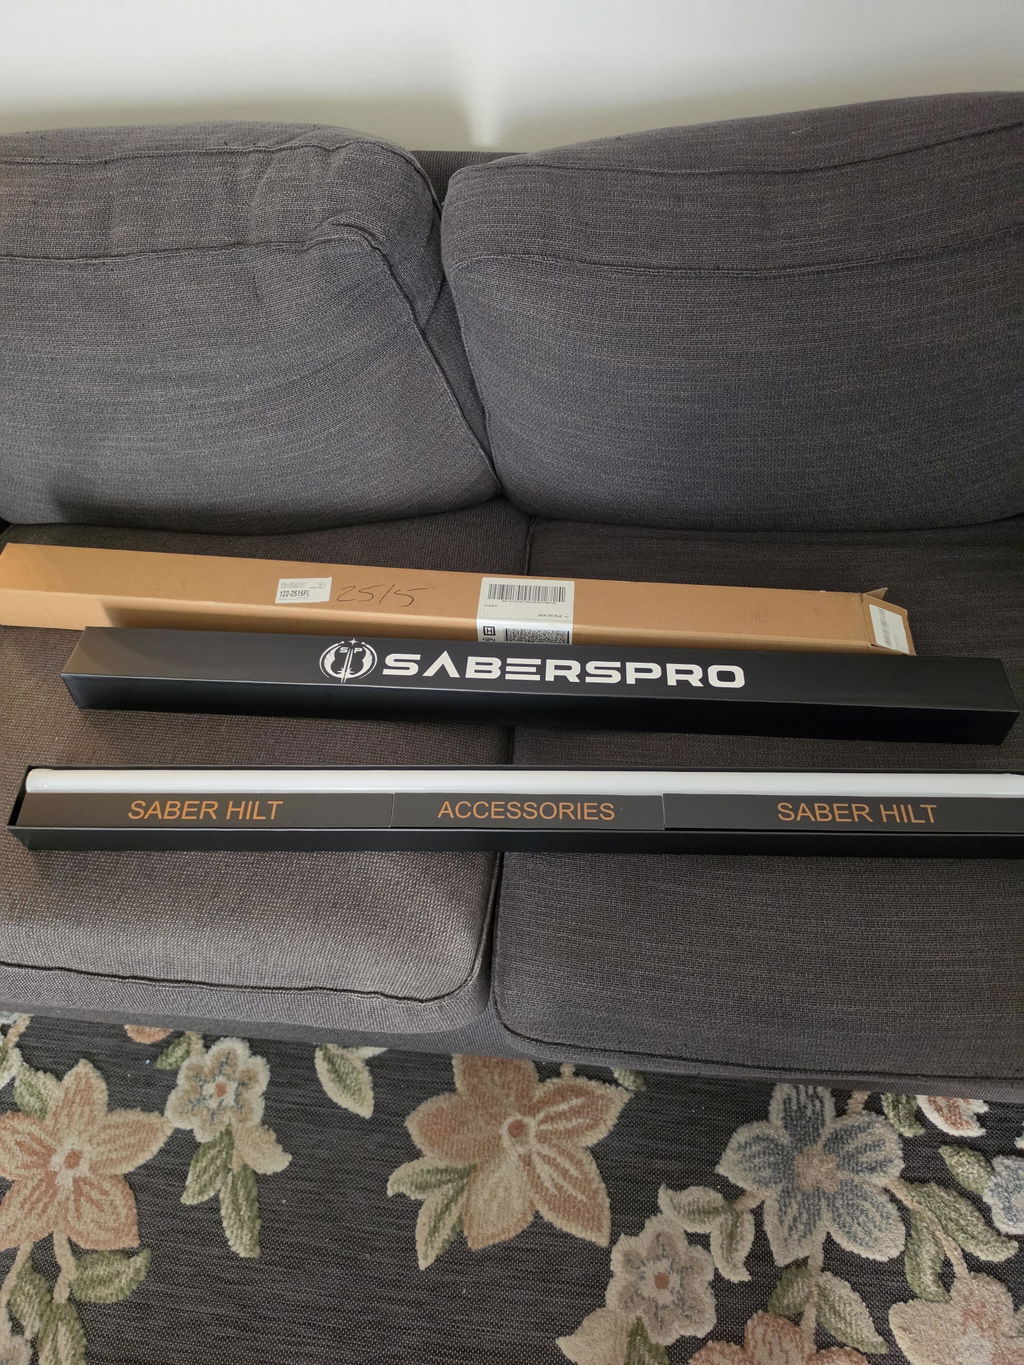
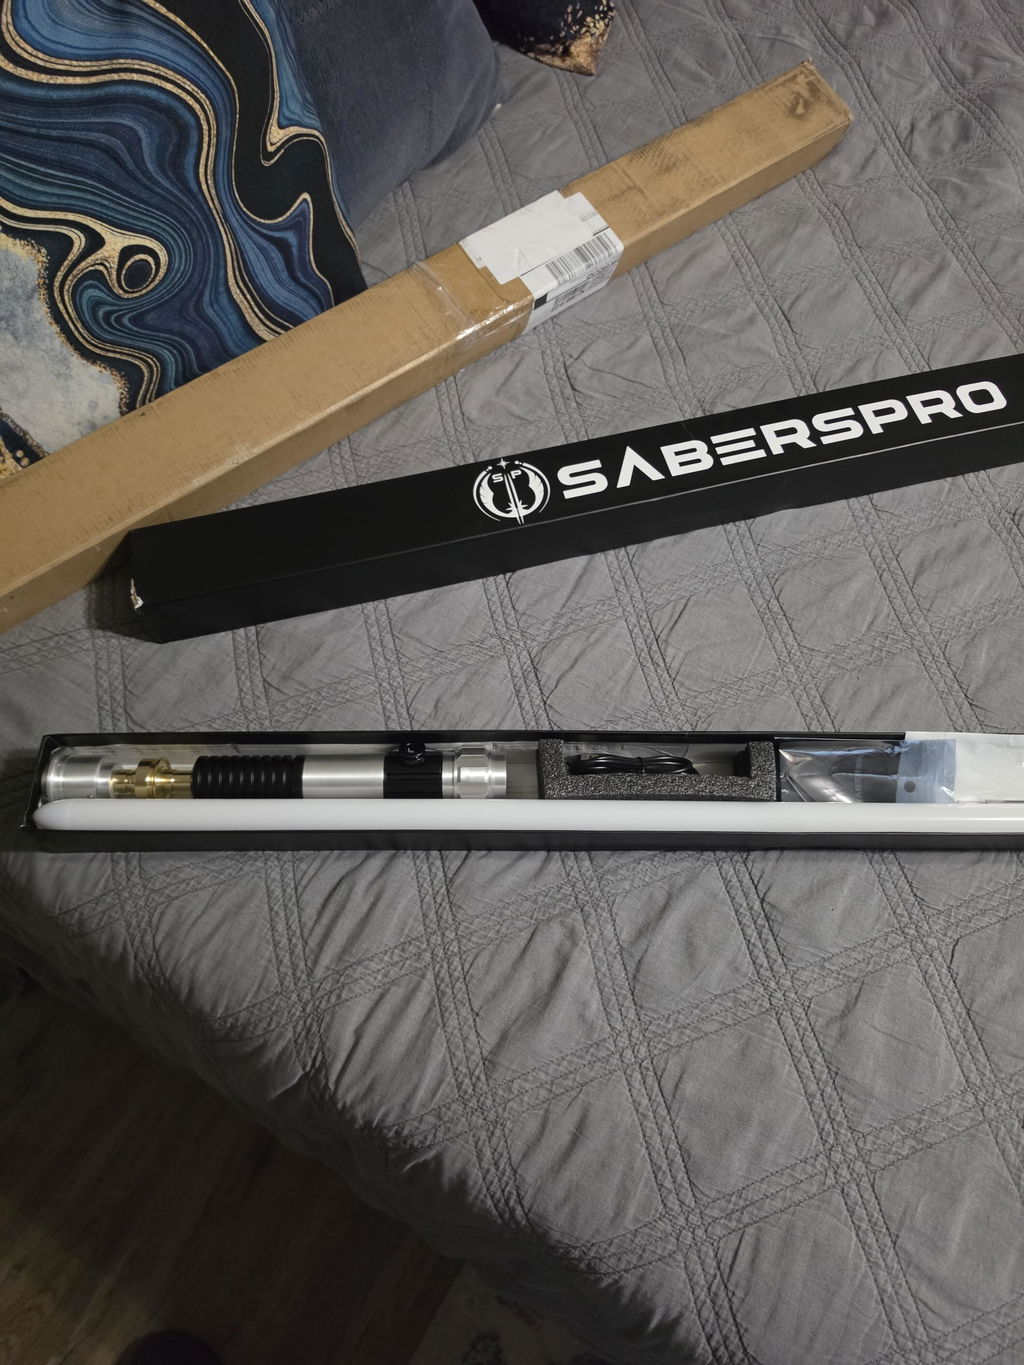
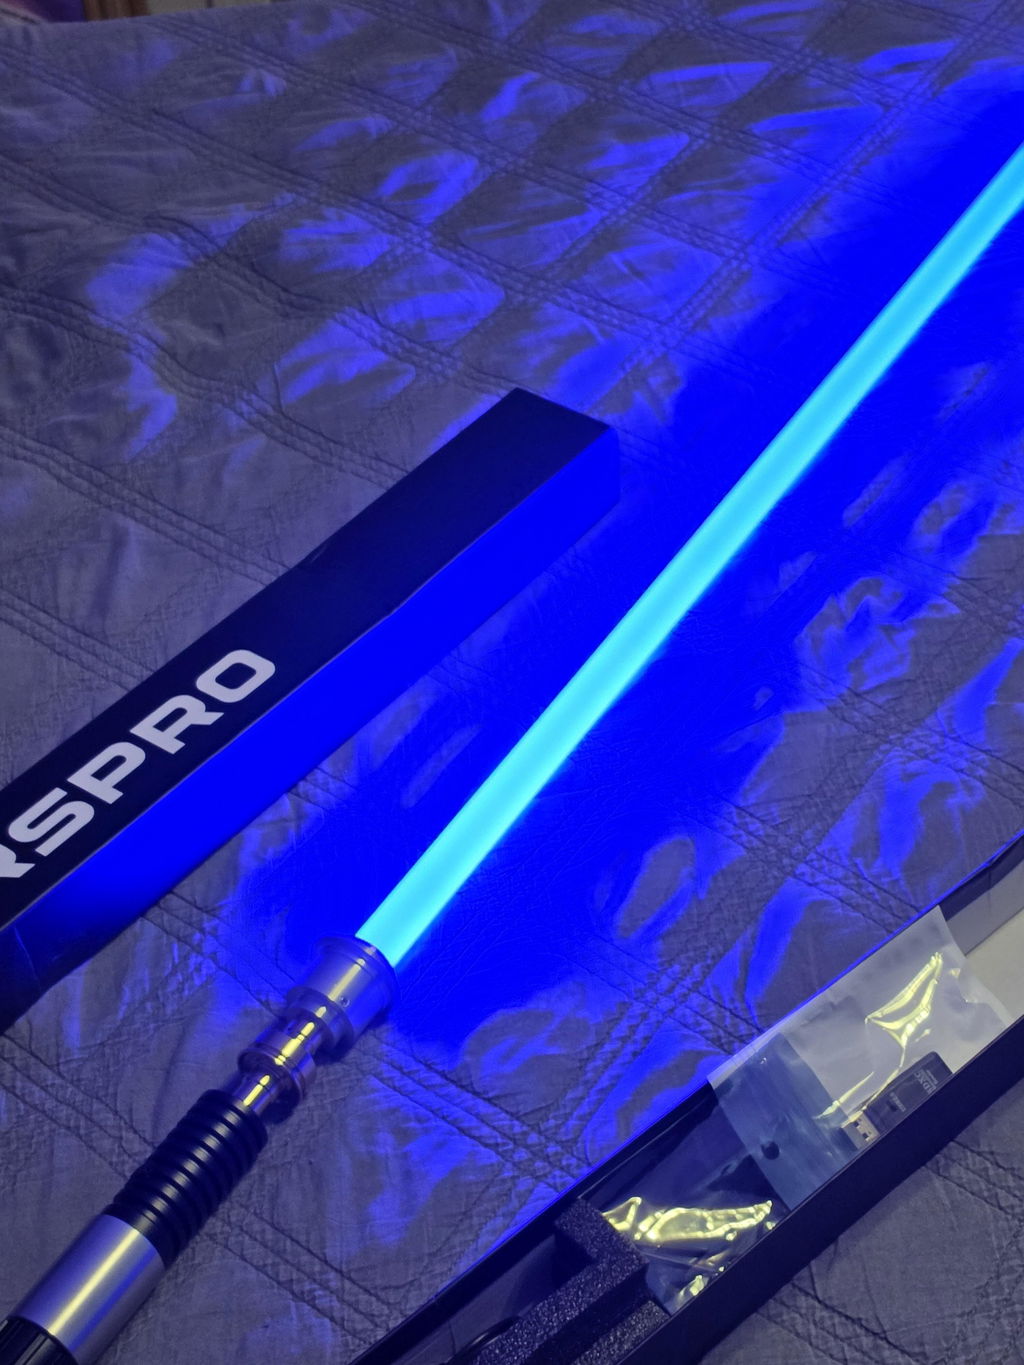
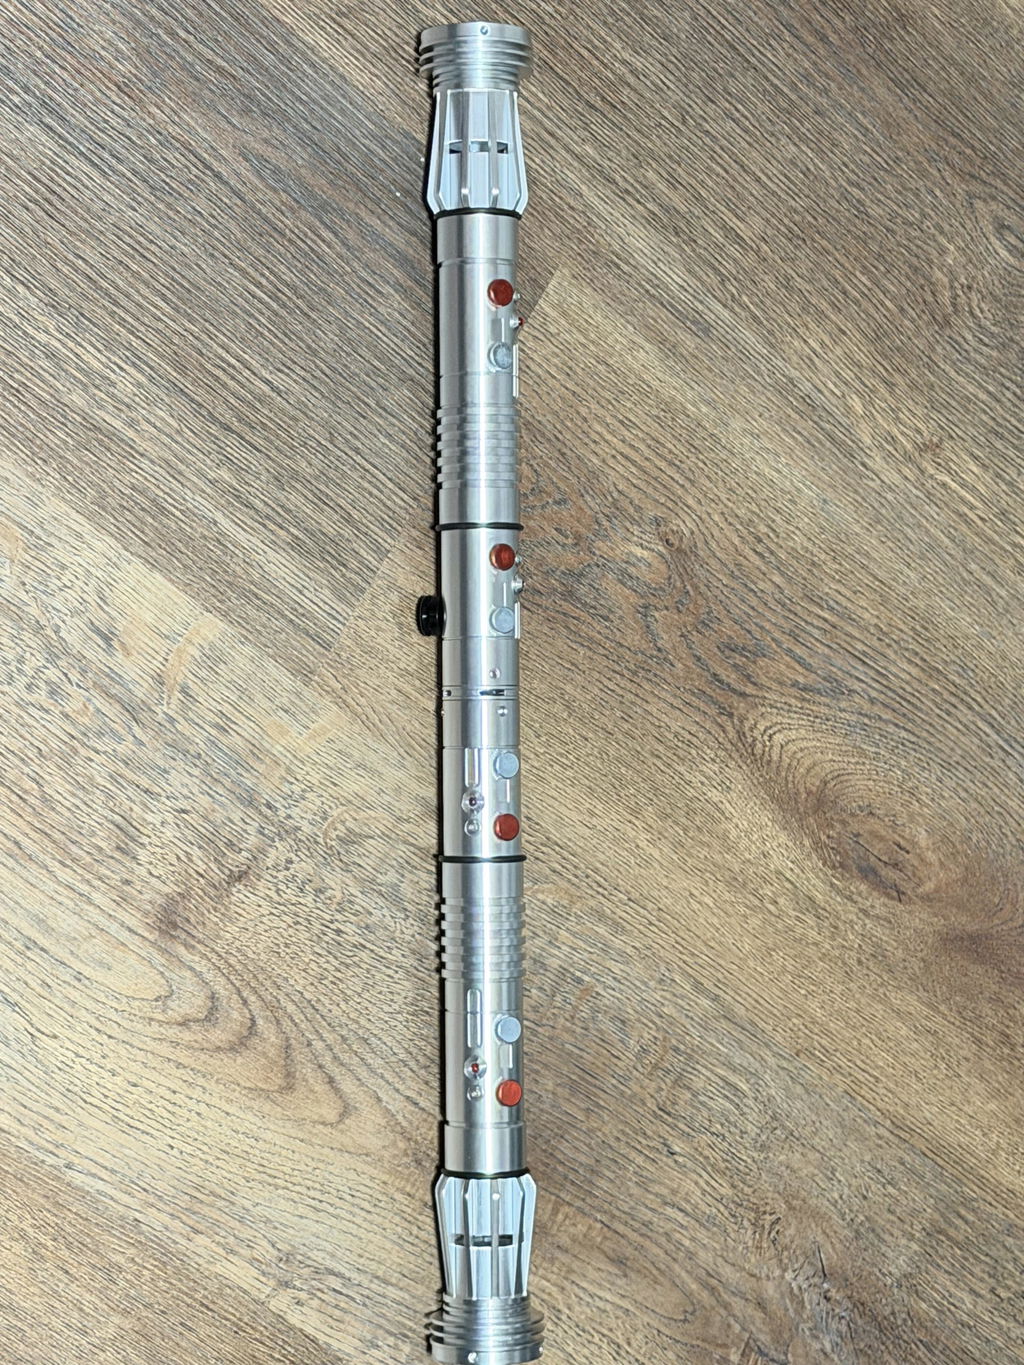
just bought two of the SabersPro mystery box apprentice base lit, light sabers. Received the Defender and Sol as my newly added sabers. The Defender comes with two blades 32 and 36 inches. Sol comes with one 36 inch blade. Both feel great in your hand and have 16 color fonts pre loaded, more of you use the app.
Awesome choice with the SabersPro mystery boxes! Getting the Defender and Sol with those comfortable hilts is a great pull for my collection.